对搭建个人博客站点的步骤进行详细回顾,并记录。个人喜欢图文并茂。总结是检验自己的学习效果,并进行巩固。
系统环境配置
- 之前说过个人博客采用node.js+hexo+github搭建。要使用hexo,需要在你的系统中支持node.js以及Git,如果还没有,那就需要安装。
安装node.js
- 下载与安装地址:http://www.runoob.com/nodejs/nodejs-install-setup.html
- 请根据自己操作系统的位数进行下载,这里不在阐述。
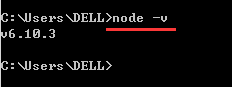
- 检验node.js是否安装好,如下图:
安装Git
- 下载与安装地址:https://git-scm.com/download/
- 请根据自己操作系统的位数进行下载,这里不在阐述。
- 检验Git是否安装好,如下图:
安装hexo
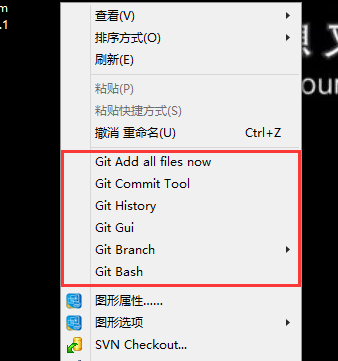
安装好Git后,右键点击Git Bash,进入本地Git控制台。
|
|
这里有必要提下Hexo常用的几个命令:
|
|
常用简写
|
|
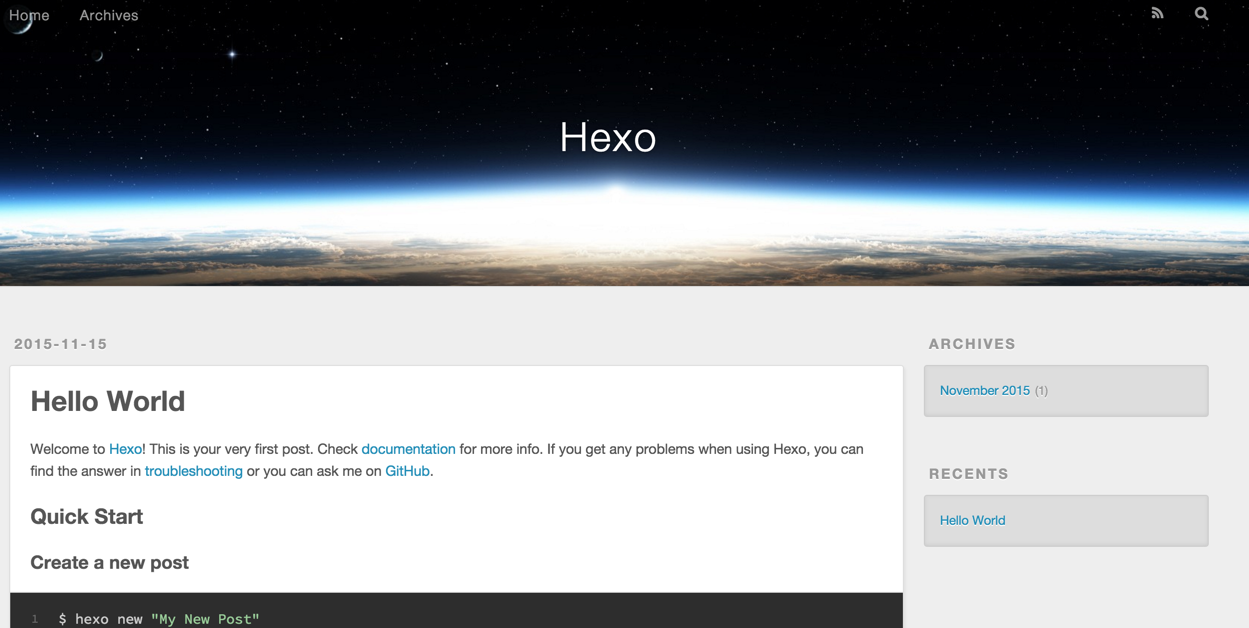
现在打开http://localhost:4000/已经可以看到一篇内置的blog了。
安装所用的本地环境如下:(可以通过Git控制台输入hexo -v查看)

hexo主题设置
这里以主题yilia为例进行说明。可以百度搜索hexo主题,有很多。
安装主题
|
|
启用主题
修改blog目录下的_config.yml配置文件中的theme属性,将其设置为yilia。
更新主题
|
|
现在打开http://localhost:4000/,会看已经应用了一个新的主题。
GitHub
注册GitHub
地址:http://www.github.com/
注册你的 username 和邮箱,邮箱十分重要,GitHub 上很多通知都是通过邮箱发送。
配置和使用 GitHub
- 登录GitHub,跳过引导页。点击Start a project
- 入下图示例:以.github.io结尾仓库。红色感叹号,是因为我的仓库已经存在同名项目了。不存在会显示绿色打钩图标

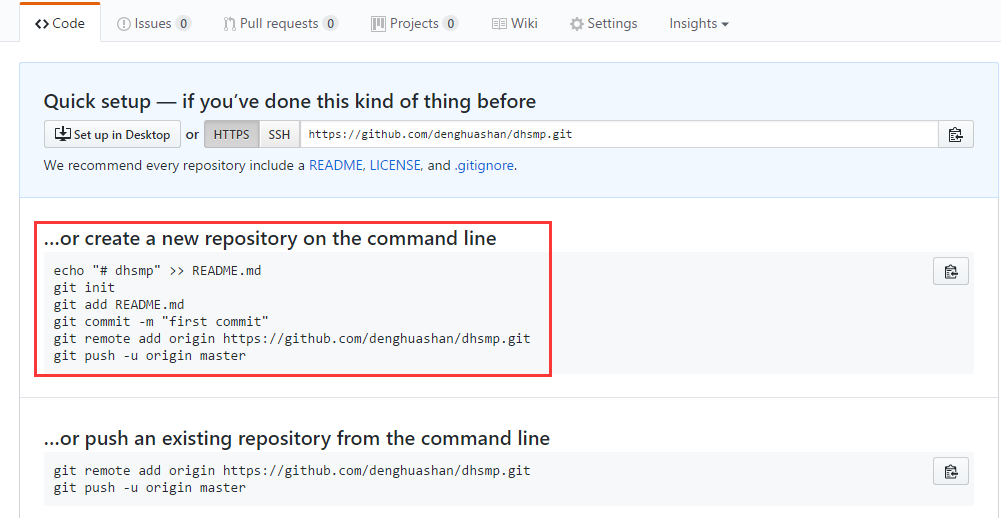
- 新建的仓库,需要有一次提交记录。红框部分就是一个示例,在Git控制台进行输入。输入之前先让本地 git 项目与远程的 GitHub 建立联系。
配置 SSH keys
检查 SSH keys的设置
|
|
如果提示:No such file or directory,说明你是第一次使用 git。如果有把.ssh文件夹里的文件先删掉。.ssh路径为:’C:\Users\your_user_directory\’,例如我的’C:\Users\DELL\’
生成新的 SSH Key:
|
|
SSH key设置成功界面: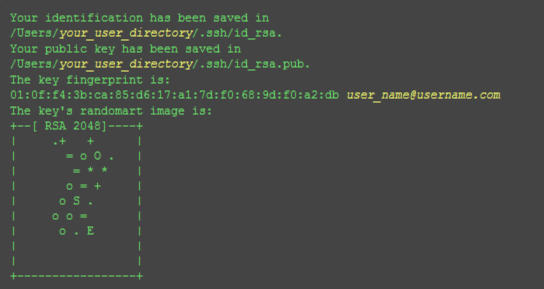
添加 SSH Key 到 GitHub
- 打开本地 id_rsa.pub 文件(参考地址 C:\Users\DELL.ssh\id_rsa.pub)。此文件里面内容为刚才生成的密钥。如果看不到这个文件,你需要设置显示隐藏文件。准确的复制这个文件的内容,才能保证设置的成功。
- 登陆 GitHub 账号。点击右上角的 Account Settings—>SSH Public keys —> add another public keys
- 把本地生成的密钥复制到里面( key 文本框中), 点击 add key 就ok了

使用Git控制台进行第一次提交
新建一个文件夹,右键点击Git Bash,进入本地Git控制台。
此时会要求输入username和password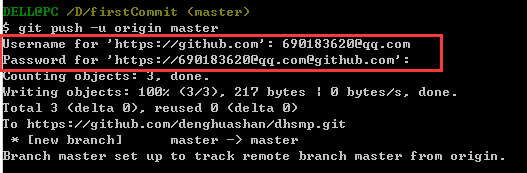
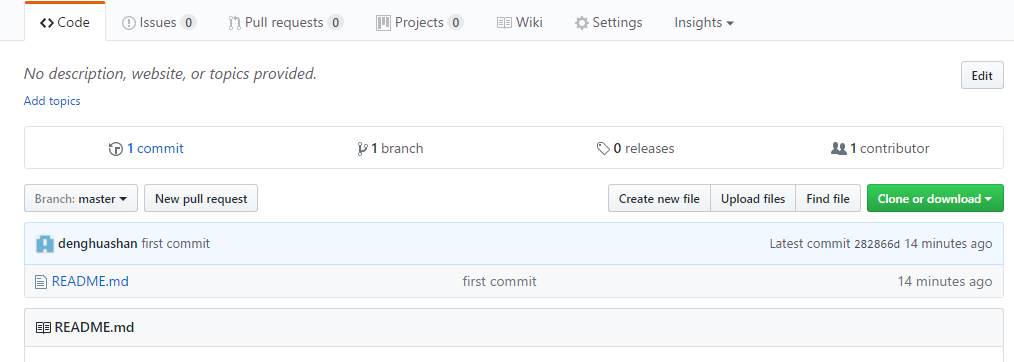
返回GitHub仓库F5刷新一下
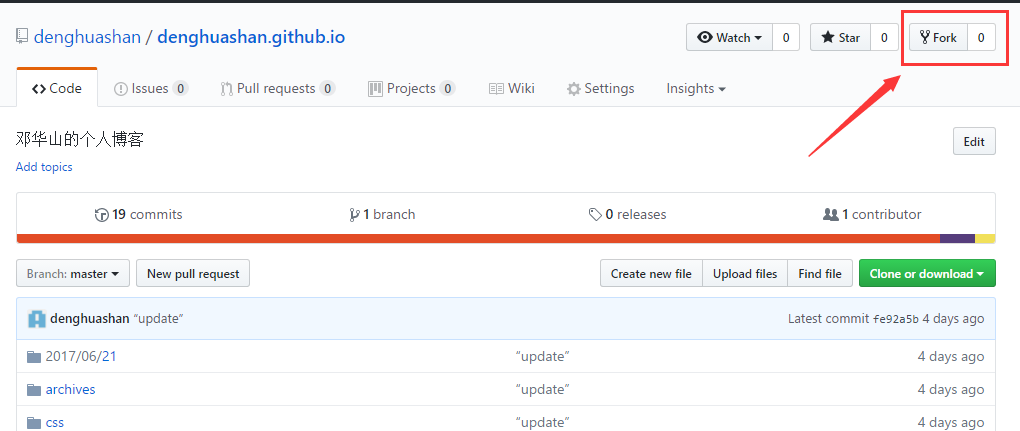
点击右上角Fork
这时,可以通过链接http://denghuashan.github.io/访问了。(现在还没有内容,别着急)
部署hexo到Github
这是很关键的一步,把在本地web环境下预览到的博客部署到github上,然后就可以直接通过http://denghuashan.github.io/访问了。
|
|
将之前创建的repo克隆到本地,新建一个目录叫做.deploy用于存放克隆的代码。
创建一个deploy脚本文件
|
|
再访问http://denghuashan.github.io,就会看到hexo的web页面了。
blog目录

各文件夹及文件的作用
- .deploy:本地仓库
- node_modules:nodejs对hexo的支持,不要删除
- public:hexo生成的静态文件
- source:类似那个webapp目录,该目录下的_posts文件夹就是存放文章的。Markdown文件,方便博客的编写与编辑。
- themes:主题文件存放处
blog目录下_config.yml文件配置说明
|
|
绑定独立域名
|
|
我是在阿里云上买的域名,操作基本是一样的。获取GitHub的IP地址,进入source目录下,添加CNAME文件。在域名注册提供商那里配置DNS解析。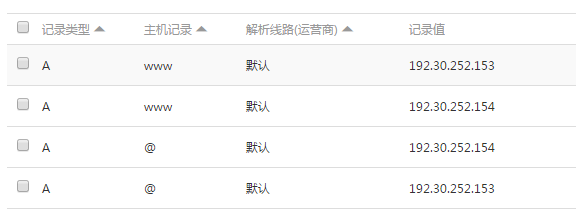
其他高级技巧
- 上面已经可以用独立域名进行访问了,其他的一些修改。在themes/(当前使用主题)/_config.yml文件进行修改配置。这里不在阐述。其他的一些特性,在这里只会提到,至于如何使用,请自行摸索。
- 采用Markdown进行文章的编辑与编写
- 使用的图床为七牛云存储 + 简易图床。https://portal.qiniu.com/signup?code=3lmipeyx3j782,点这个连接注册,可以给我增加存储空间。谢谢了。
- 添加404公益页面,推荐使用腾讯公益404。http://www.qq.com/404/
- 还可以添加一些其他的插件,如统计访问量、文章字数统计、文章评论与回复、打分,等等。